Skip to content

HVS-4520.SMART BLINDSTICK WITH ARDUINO UNO.

₹2,800.00

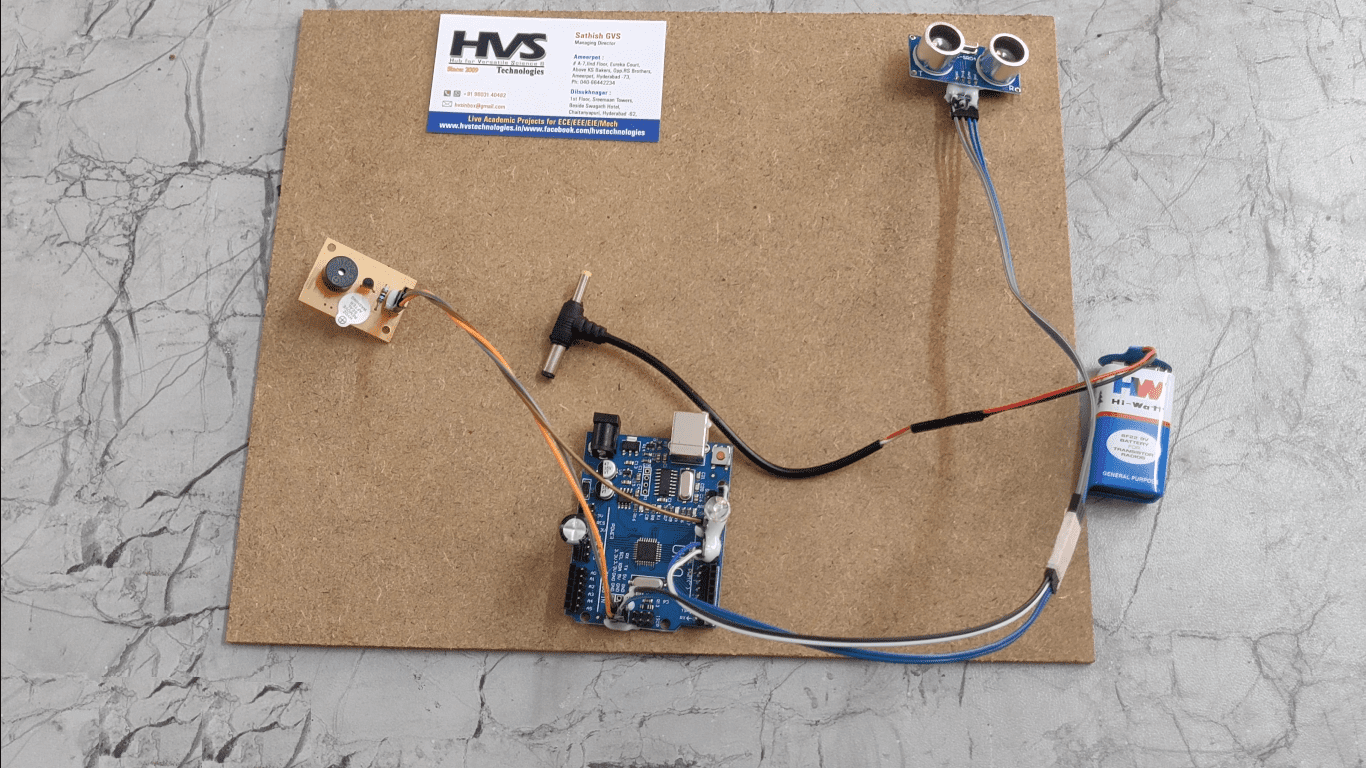
The Smart Blind Stick project aims to enhance mobility and safety for visually impaired individuals by integrating an Arduino Uno, ultrasonic sensor, buzzer, and battery into a single assistive device. The core functionality involves the ultrasonic sensor, which continuously measures the distance to obstacles in the user’s path.

Categories , ,  Tags , 
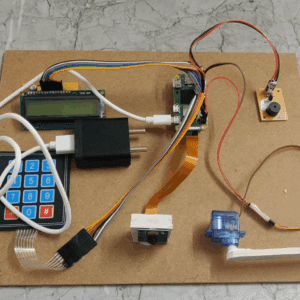
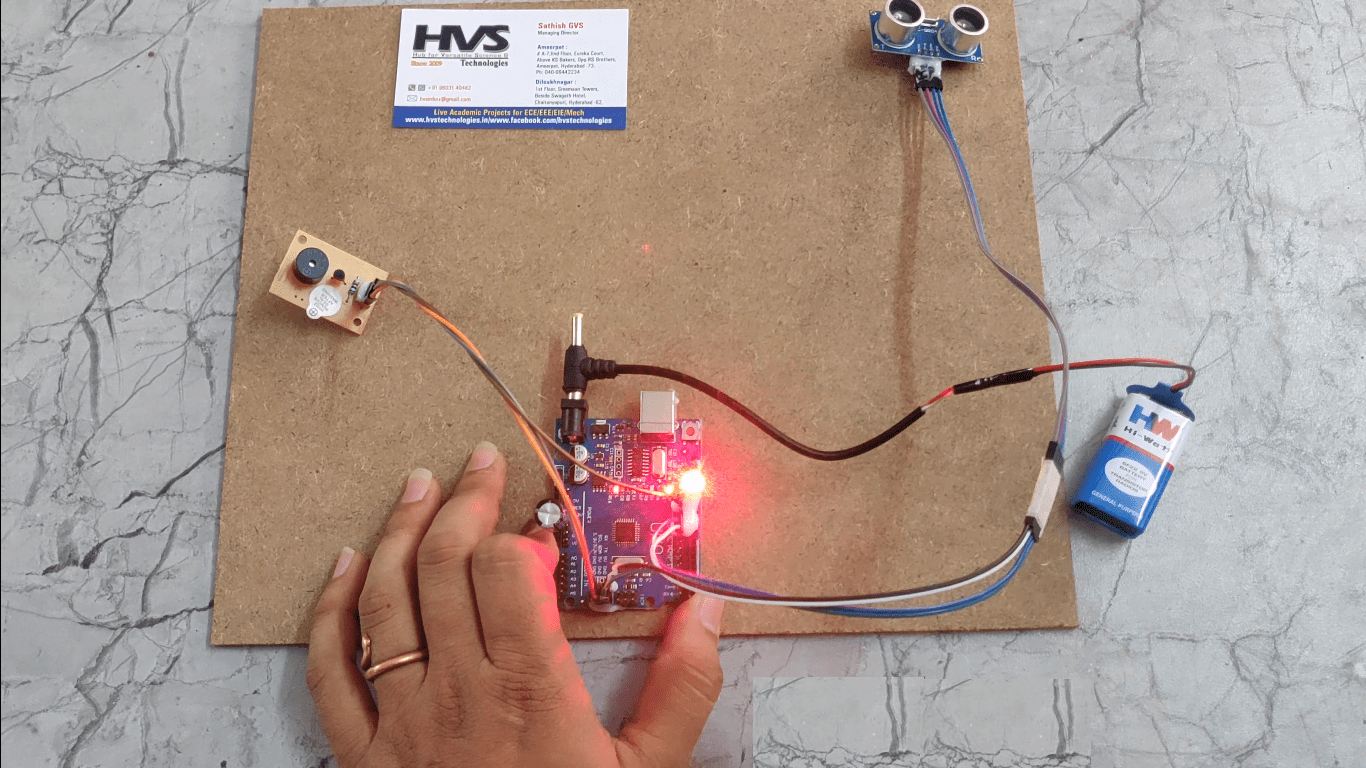
The Smart Blind Stick project aims to enhance mobility and safety for visually impaired individuals by integrating an Arduino Uno, ultrasonic sensor, buzzer, and battery into a single assistive device. The core functionality involves the ultrasonic sensor, which continuously measures the distance to obstacles in the user's path. When an obstacle is detected within a specified range, the sensor sends data to the Arduino Uno microcontroller. The Arduino processes this information and activates a buzzer to alert the user through auditory signals. The buzzer's sound pattern varies based on the distance of the obstacle—closer obstacles trigger a rapid, high-frequency sound, while distant obstacles are indicated by a slower, lower-frequency tone. This real-time feedback helps users navigate their environment more safely and effectively. By combining these components, the Smart Blind Stick offers a practical, cost-effective solution to improve the independence and confidence of visually impaired individuals.  

The main objectives of the project are:
  • Implement a reliable system for detecting obstacles in the user’s path using an ultrasonic sensor. This will enable the device to measure the distance between the user and potential obstacles.
  • Develop an effective method for providing real-time auditory feedback through a Buzzer. The feedback should vary based on the proximity of obstacles to help users navigate safely.
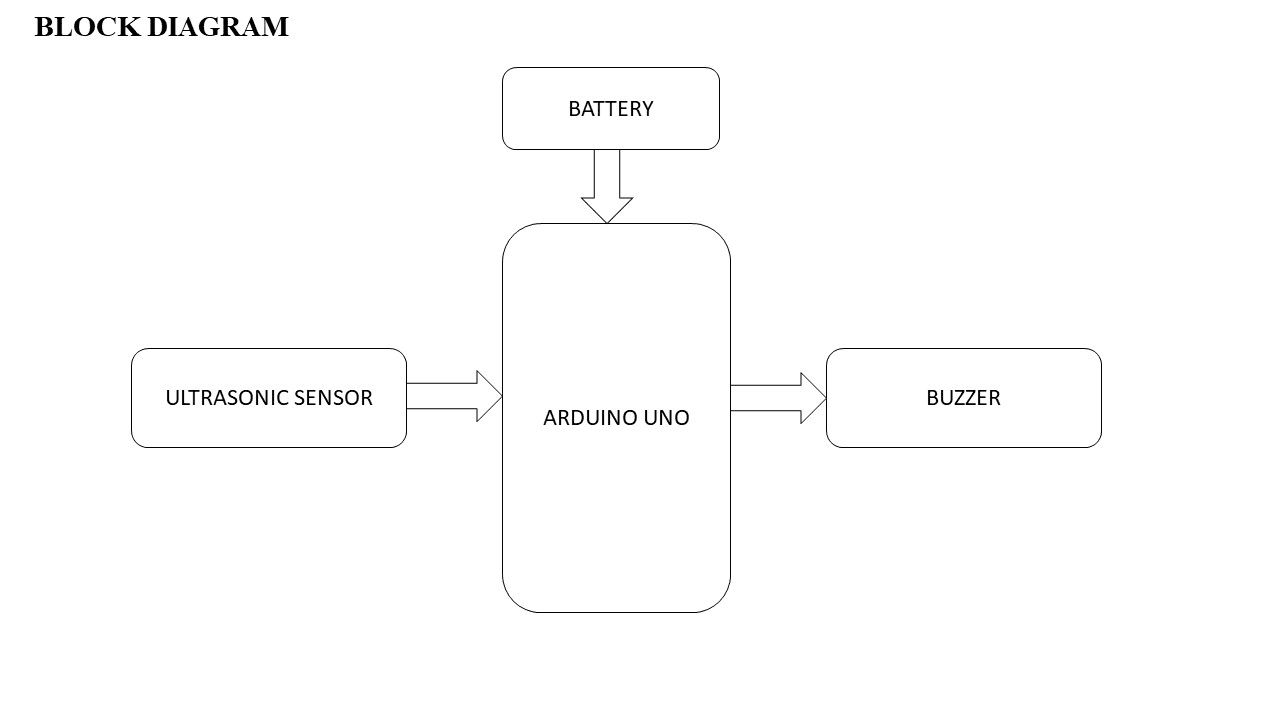
The major building blocks of this project are:
  1. Arduino Uno.
  2. Battery
  3. Ultrasonic Sensor.
  4. Buzzer
  Software’s used:  
  1. Arduino UNO compiling and dumping code into Microcontroller.
  2. Express SCH for Circuit design.

Block Diagram:

video: